Improv Round Robin

Here are some pictures of the first and last stages of each quilt.  There were 5 of us doing the Improv Round Robin activity today.  The first is a block which each of us made.  We brought coordinating fabrics for others to choose from.  Each person had each of the others for approximately 30 minutes each.  We sliced, diced and added from the accompanying stash.

6×6 Fun

Fiberistas and friends had a wonderful time at Mary’s house today. here are just a few of the creations.

Slow and Steady Wins the Race

Slow and Steady Wins the Race by Frances Dack

Turtle Goes to Town by Sue Donavan

Turtle Goes to Town by Sue Donovan

GROW where you are planted!

“GROW where you are planted” by Frances L A Dack

by Beth Kelly

by Beth Kelly

Bamboo, Dragon Fly, Bee

Bamboo, Dragon Fly, Bee by Frances L A Dack

Breast Pockets

Breast Pockets

Breast Pockets

This month Julie lead us in making pockets for the Breast Pocket Project started by Melanie Testa. http://melanietesta.com/2012/10/breast-pockets-with-deadline-1000-pockets-in-3-weeks/ We more or less followed directions in Quilting Arts Magazine/Nov 2014  issue #71.  We are submitting this batch to the magazine for the Reader Challenge.  Every pocket submitted will be published, either in the April/May 2015 issue or at quiltingdaily.com, and then donated to  Melanie’s Breast Pocket Project.

In 2015 we plan to each make a pocket every month using the technique of that month.  We will donate them to a cancer unit in our local area.

Diane's

Diane’s

Diane's

Diane’s

Frances'

Frances’

Kathi's

Kathi’s

Sues

Sues

Layer It On

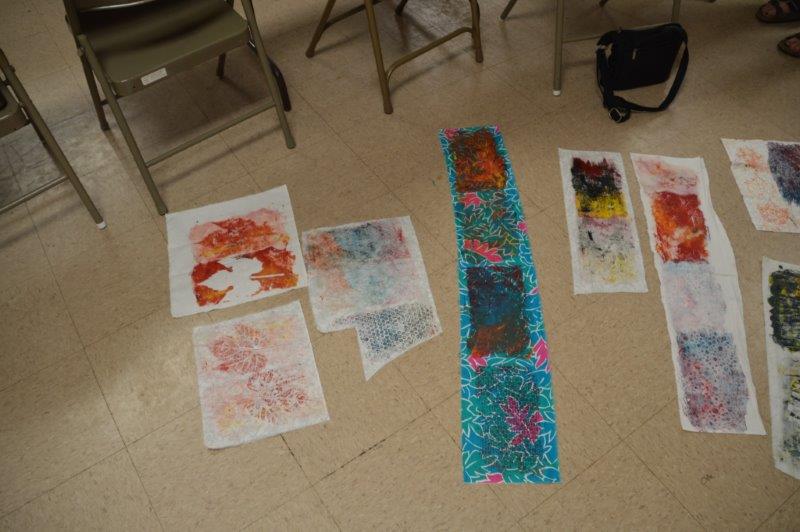
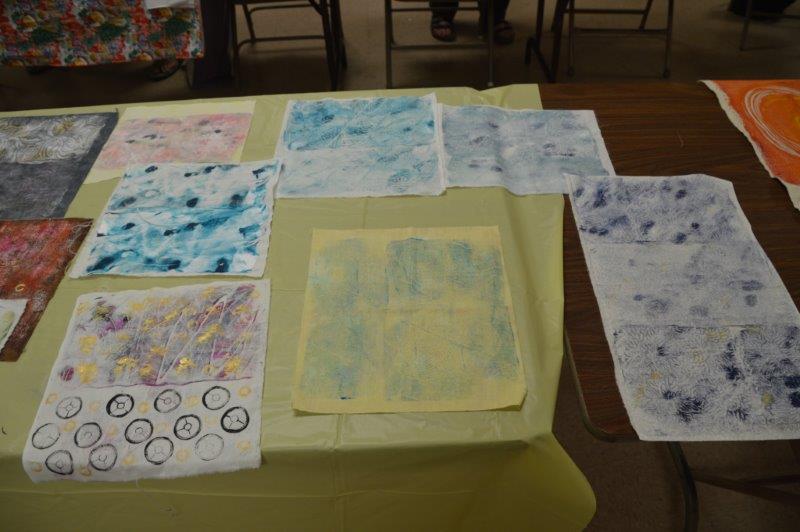
Today Diane introduced  us to Layer It On from the Fall issue of Quilting Arts Magazine.  It is a process of creating fabric from scraps, then stamping with paint, then layering on sheers,then quilting, then cutting away the sheer from the stamped area.  Here is what we have so far.

Frances step  one

Frances step one

Frances used one solid piece of fabric rather than creating fabric from scraps. The above photo shows her painted stamps drying.  Below is after layering on 2 different sheers and starting to do the quilting.

Frances' with sheer overlays and some quilting.

Frances’ with sheer overlays and some quilting.
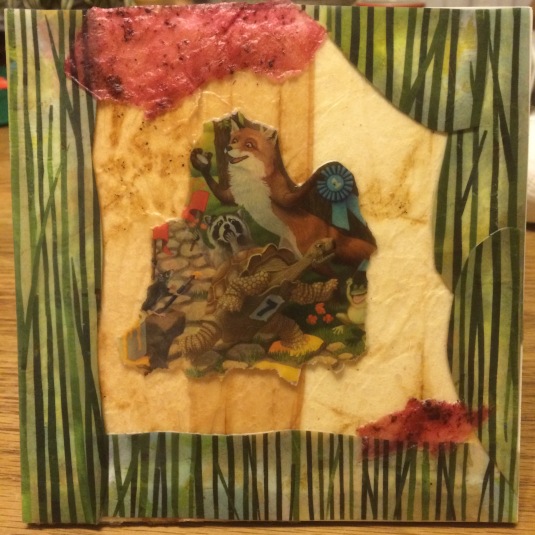
Steph IMG_7307

Steph’s

Steph has several fabrics in her background, stamping and has layered on a sheer with flowers printed on it.
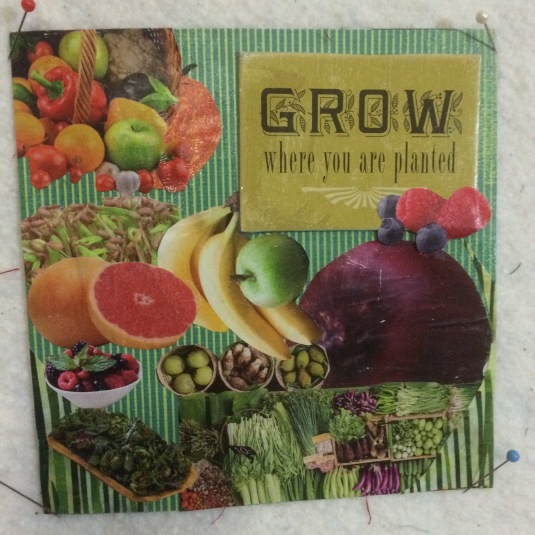
Beth's

Beth’s

Beth pieced her fabrics and is using the same sheer as Steph.

Creating the Illusion of Transparency

Steph introduced us to creating the illusion of transparency.  She and Janet had taken a class with Judi Warren Blaydon.

Samples from class (left, Janet; right,Steph))

Samples from class (left, Janet; right, Steph)

illusions of transparency made by Fiberistas

illusions of transparency made by Fiberistas

Here are a few close ups of our samples.

Frances' IMG_7126 IMG_7129 Steph's IMG_7114 IMG_7125

Painting with Stitches 6×6’s

Sue’s with eyelash

Here are some of the 6×6’s we did using the Painting with Stitches technique we learned last month

Sue's with eyelash

Sue’s with eyelash

Sue's

Sue’s

Frances' A Hole in the Screen

Frances’ A Hole in the Screen

Mary's with a zipper

Mary’s with a zipper

Kathi added color to her stitches.

Kathi added color to her stitches.

Steph's is reversible.

Steph’s is reversible.

Diane here. I wasn’t able to attend the meeting as we are in sunny Tucson, but I did finish my 6″x6″ piece too. It’s fringed too!!! Ta da:

Jan Stitch 6x6 fiberistas blog<


January 2014

The January meeting found us learning about thread painting with the decorative stitches on our machines.  Some of us just experimented on scrap fabric.  A couple made fabric collages and used our stitches to embellish.  Julie combined using ribbon and decorative stitches with great results.  Janet started experimenting with free motion quilting with the decorative stitches. Kathy choose to use just one stitch and thread but varied the length and width along the way.  That is why we like to work as a group because we always discover something from the other members creativity!

For 2014, we have also given ourselves a challenge.  We must bring a completed piece the following month that uses the technique we learned.  The minimum size is 6″x6″

I’m including a few pictures from our playing!DSC_0632 DSC_0633 DSC_0634 DSC_0635 DSC_0637 DSC_0638 DSC_0639 DSC_0640

And Diane here adding Steph’s picture and mine – which I did at home this week:
Stephanie blue

My collage stitched

November 2 – “The Big Reveal”

Several months ago, several of use decided to do a challenge. We each created an 8 1/2″ x 11″ Art Quilt and then it was passed on each month to another person in the group. Each person then created a new 8 1/2″ x 11″ Art Quilt inspired by the original that they received that month. They could choose the theme, a color, a style or any other aspect as their inspiration. No one was allowed to see any of the originals prior to their month and no one shared their new quilts until this month. We then went around the group and shared what we had created based on the inspiration piece. I am loading the “groups.” The picture in the upper left hand corner is the original and the rest are the creations inspired by the original. It was a great experience and we were wowed by the different interpretations. We will do another challenge (TBA) in 2014. One person couldn’t make it so we will be adding those pictures at a later date!Beth-GroupBeth

Diane-GroupDiane

Frances-GroupFrances

Kathy-GroupKathy

Stephanie-GroupStephanie

Sue-GroupSue

Terryn-GroupTerryn

September Fiberista Meeting

Alas it is Sept and my turn for for an idea for meeting. I was in  a quandry as to what to do and I found this one day and thought it might be fun to try I don’t knit and thought it was cool to be able to make a piece of material that looked as though I had knitted .

 Sorry this post is late. The good thing is it doesn’t require a lot of things to get. the basics are some chenille  yarn, netting and thread to match, wash-away stabilizer and your machine. Enclosed is the page with a cute pattern. If the clutch pattern doesn’t suit you then we can just experiment with the technique for a new fabric .http://www.singerco.com/uploads/download/3fdf1de0e20425782ce4fc51b1f79b80464a94f9.pdf

See everyone on Sat.

Julie G-S


August Meeting – Gel Plate printing

DSC_0240 DSC_0239 DSC_0238 DSC_0237 DSC_0236 DSC_0235 DSC_0234 DSC_0233 DSC_0232 DSC_0231 DSC_0230Another good day.  Some of us had never done gel printing, others continued honing their skills.

Previous Older Entries